What Does ISO Stand for in Photography? ISO for Beginners
Share
Whether you’re looking for photography tips for beginners, or you've had an interest for a while, it's easy to get overwhelmed by the vast world of photography. You might be thinking about what is the best camera and lens backpack or you might look at terms like shutter speed, aperture priority, or ISO and wonder: What the heck does any of that mean?
Well, you're in luck. If you have a particular interest in ISO photography, we've created an easy-to-read guide.
So what does ISO stand for in photography? Stay tuned and find out!
Why is camera ISO called ISO?
To answer the question, “what does ISO stand for in photography?”, we need simply head to Google. ISO definition in photography stands for “the International Organization for Standardization''.
Talk about a mouthful. So, what does this mean?
In basic terms, ISO represents an organization that sets international standards for measurements. In reference to cameras, this has some important functions.
What does ISO do in Photography?

Now that you know the answer to “What does ISO stand for in photography?”, you’re probably wondering what it does.
When it comes to cameras, ISO serves an important and fairly misunderstood purpose. Fortunately, that doesn’t mean it’s complicated.
For starters, ISO represents your camera’s sensitivity to light. Cameras will display various ISO settings through assigned number values.
Some of the most common include:
- ISO 100
- ISO 200
- ISO 400
- ISO 800
- ISO 1600
- ISO 3200
But, what do these numbers mean? Well, the higher the number, the most sensitive your camera will be to light. For example, at 3200, your camera is extremely sensitive.
Understanding the ISO meaning camera setting is crucial for photographers, as it determines the sensitivity of the camera's sensor to light, impacting the exposure and quality of the final image.
ISO is a key component of the exposure triangle, which also includes aperture and shutter speed, and it refers to the sensitivity of a digital camera's sensor to light. ISO numbers, such as 100, 200, 400, 800, and 1600, indicate this sensitivity level. Lower ISO numbers, like 100 or 200, are ideal for bright light conditions and produce images with minimal noise.
As the ISO number increases, the camera sensor becomes more sensitive to light, allowing for faster shutter speeds even in low-light situations. However, using a high ISO setting, such as 1600, can introduce noise or grain into the photo. Balancing ISO with aperture and shutter speed is essential to achieve the desired exposure and image quality in varying light conditions.
When should I increase ISO?

As mentioned, ISO impacts your camera’s light sensitivity. The higher the setting, the more light you take in. In this way, playing with your ISO is all about balance. On a bright sunny day using the Sunny 16 rule, your ISO can be lower. While, on the other hand, you may have to raise your ISO at dusk.
Try following this chart:
- ISO 100: Sunny Daylight
- ISO 200: Cloudy Daylight
- ISO 400: Overcast
- ISO 800: Bright Room
- ISO 1600: Dim Room or Dusk
- ISO 3200: Night
What is ISO and explain how it affects image quality?

Though it’s great to be able to capture low-light images at ISO 3200, there are two major downsides to high ISO photography.
First, raising your ISO when you don't need to will overexpose your image, and drown it in white light.
Second, the higher the ISO photography, the more noise you start to introduce. You've likely seen image noise before. It's staticky, blurry, and overall an unwelcome addition.
The two most common types of noise you might see are luminance and chrominance. Luminance noise affects the brightness of the pixels, giving that static look. Equally annoying, chrominance noise shows up as red, green or blue colored pixels.
Managing Noise
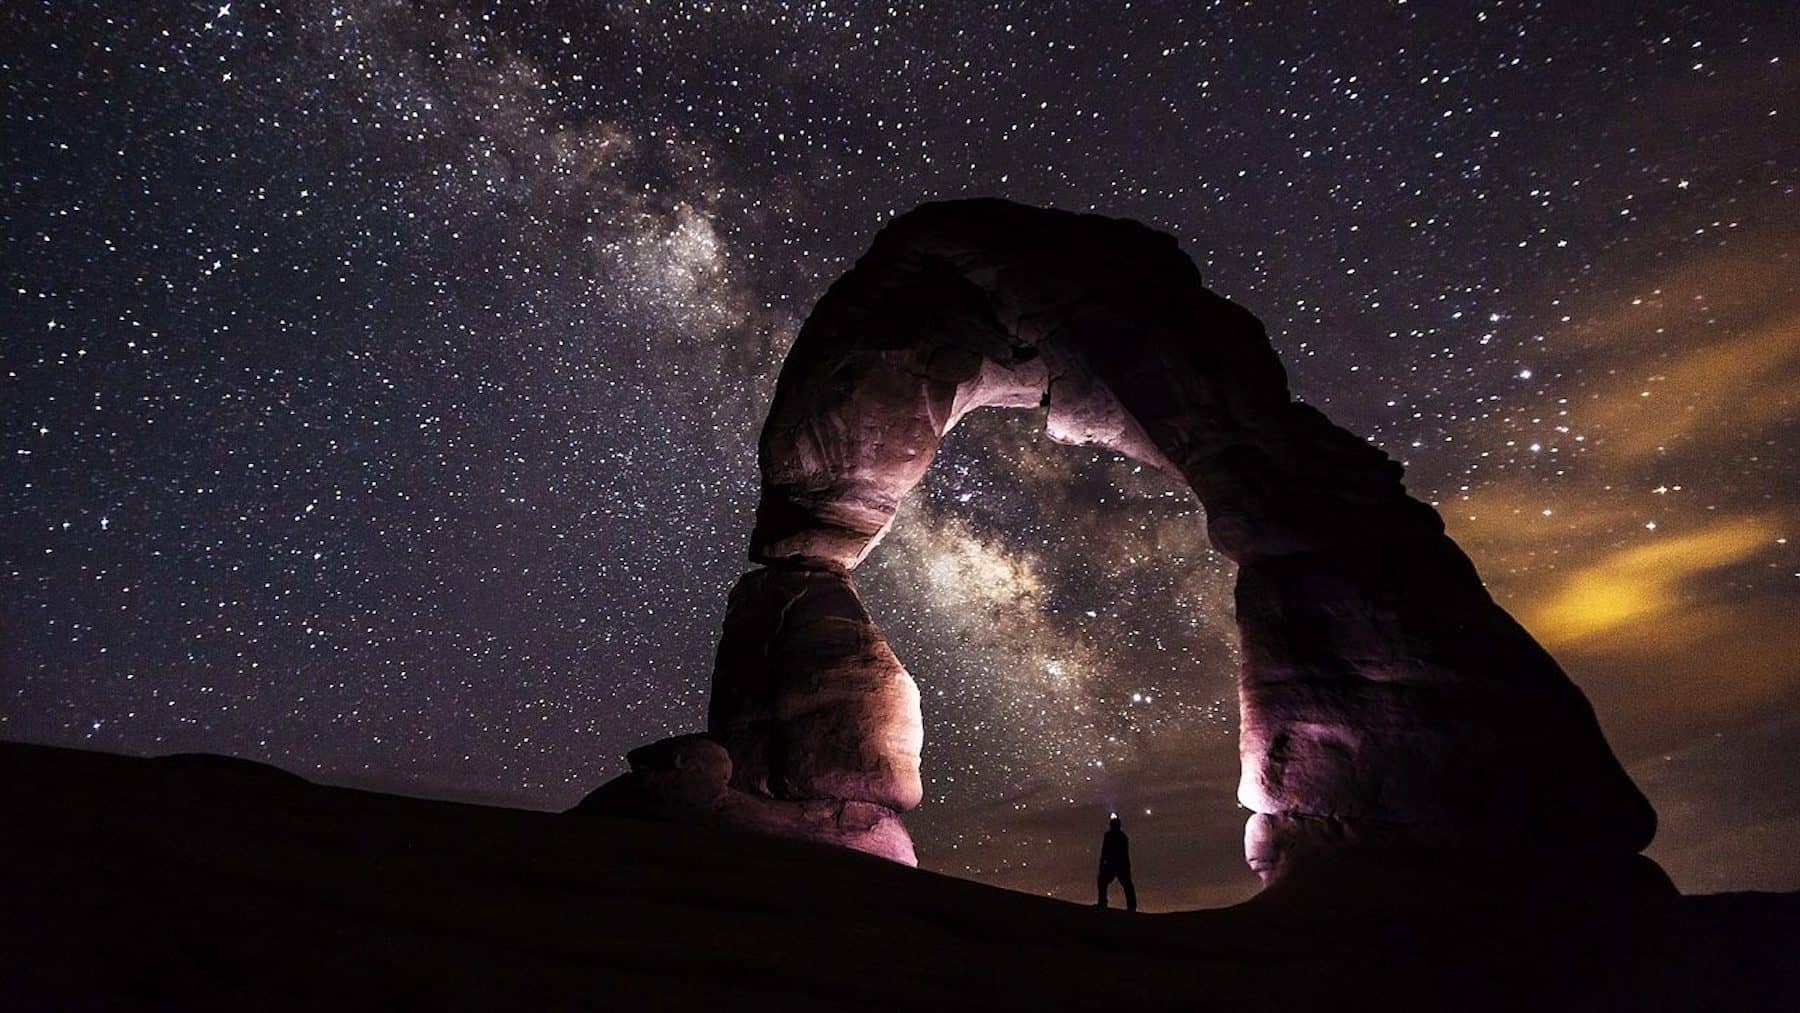
The first step in managing image noise and creating great ISO photography is to never set your ISO higher than you need to. If your image isn’t too dark at 100 or 200 ISO, don’t set it any higher!
However, if you do need a higher ISO, try following these steps:
- Find an ideal depth of field using your aperture settings
- Set your ISO to it's base value first, and adjust your shutter speed to see if you can get a quality exposure
- If your subject is blurry, slowly raise your ISO
- If your ISO starts getting too high, widen your aperture
While in the end you might have to sacrifice some depth of field, that result is considerably better than grainy photos. That’s how you nail ISO photography!
Up Next: What is Photography?
Now that you know the answer to the question: “What does ISO stand for in photography?” you’re ready to learn more about the world of photography.
If you’re interested in pursuing the hobby, you’re going to need a camera bag. But don’t worry, we’ve got you covered.
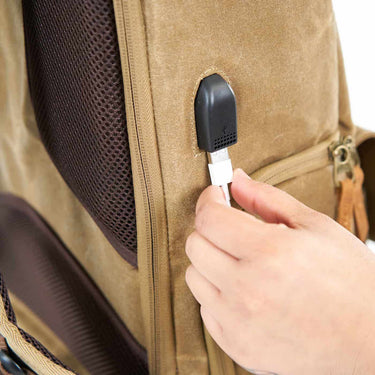
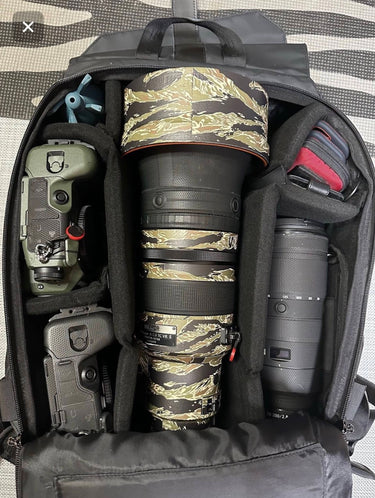
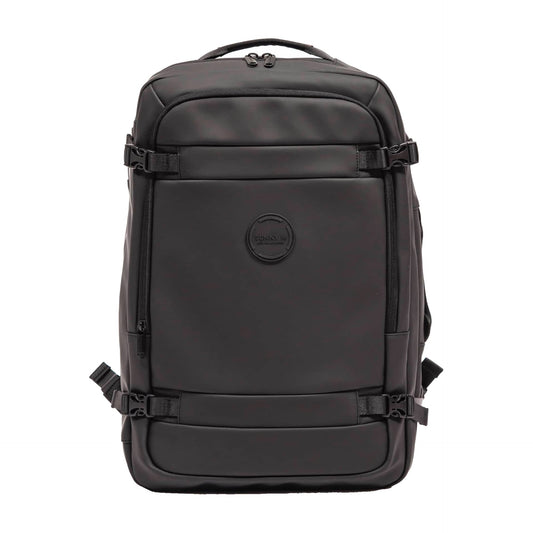
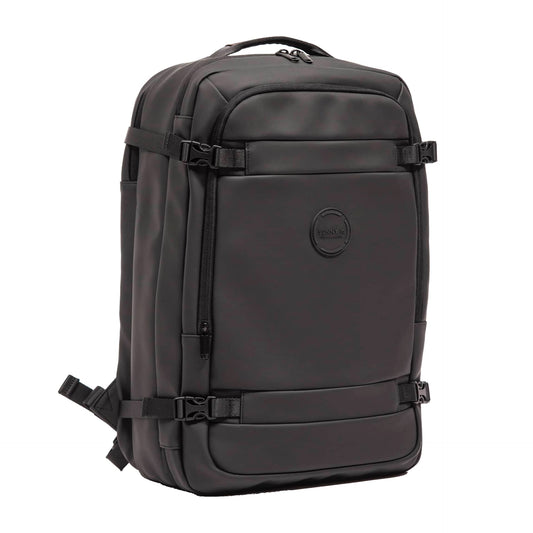
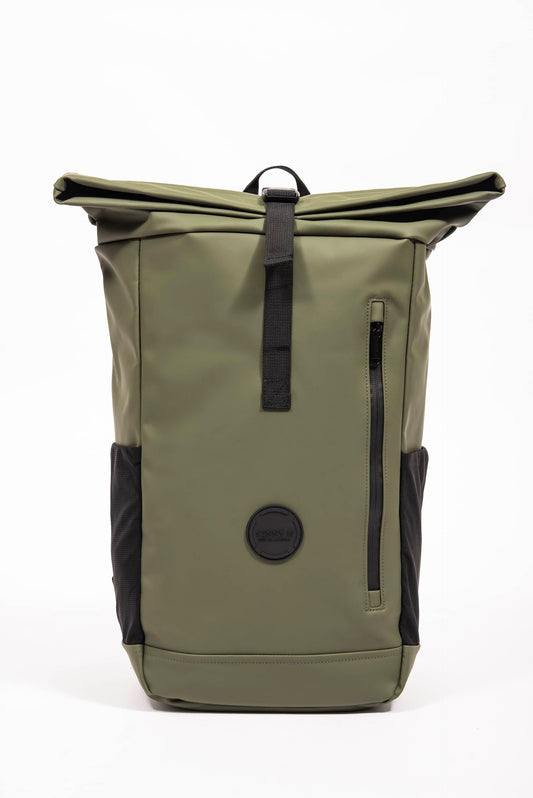
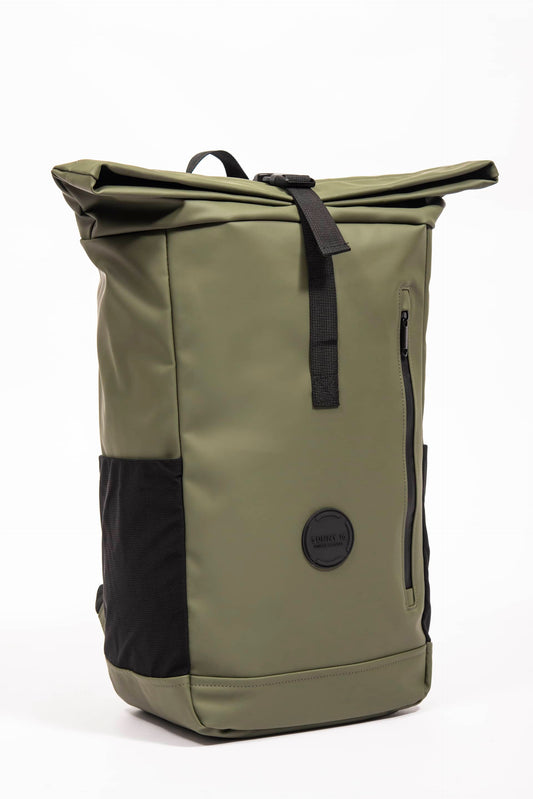
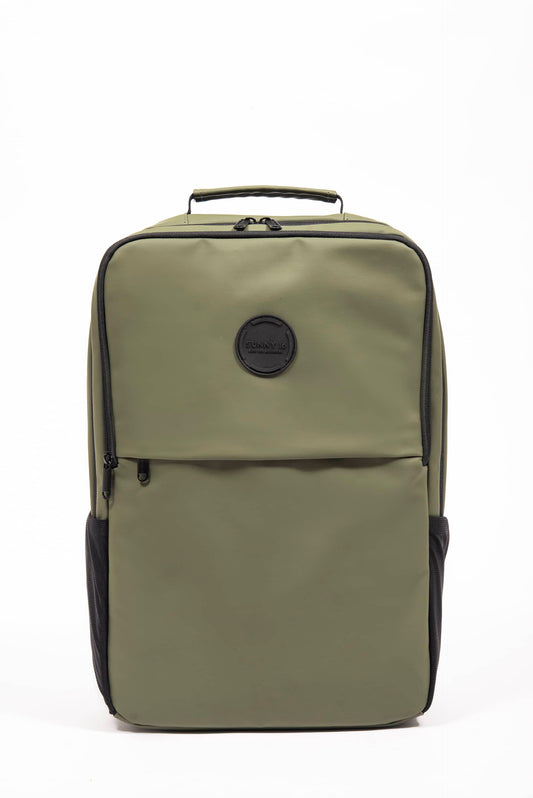
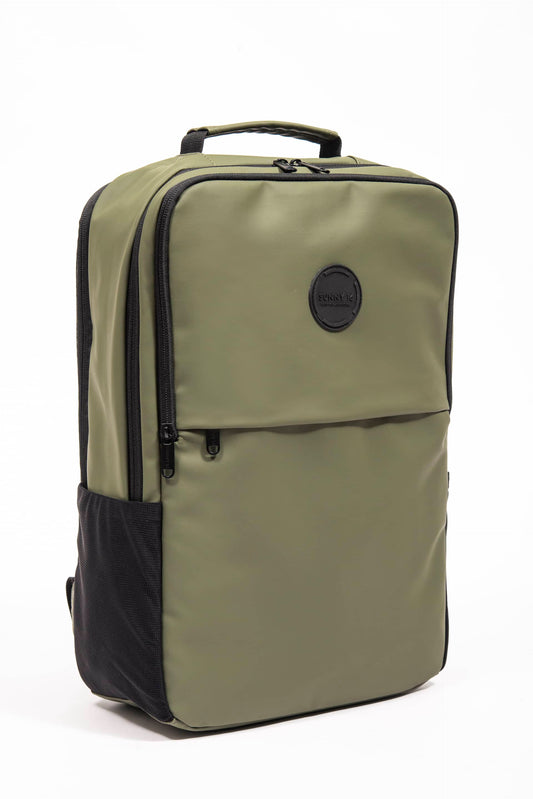
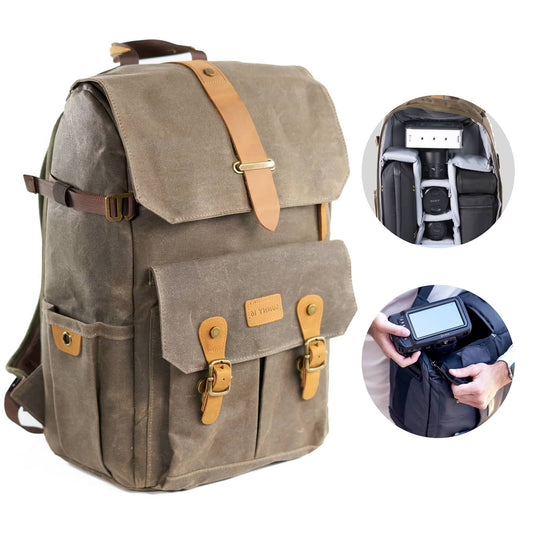
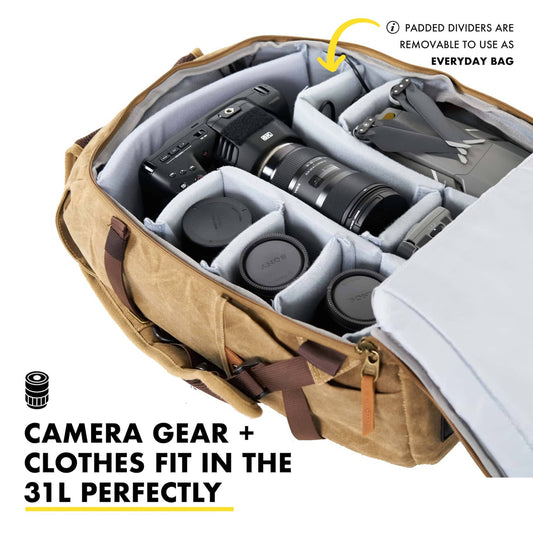
To keep your camera and other equipment safe and sound, get The Voyager camera backpack. It's lightweight, spacious, and even water-resistant. You’ll also never miss a shot using the quick draw side access camera backpack.
And, if you want to learn more about photography and other equipment you need, check out our article on just that.

