15 Best Architecture Photography Tips and Tricks
Share
All the grandeur of modern architecture can make it easy to feel nervous and overwhelmed during a photoshoot. After all, you want to capture the structure in a flattering and sensational way.
With that in mind, knowing the top tips and tricks for understanding architectural photography can go a long way. When to shoot, what to charge, and what equipment you should use will all play a crucial role in your success.
This article will serve as a guide to understanding architecture photography, as well as show you exactly how you can nail your shots.
What is Architecture Photography?

Architectural photography focuses on buildings, and aims to capture them in unique and interesting ways. From monumental skyscrapers to iconic bridges, this type of photography covers a wide range of man-made subjects.
You can shoot interiors or exteriors, as well as other structures and cityscapes. Wherever you go, you're bound to find some form of architectural inspiration.
Architecture photography can also be a worthwhile career, or a satisfying hobby. There are tons of clients out there who will happily pay for it. Magazines and architecture firms are always happy to seek out quality architecture photography.
Either way, you can learn valuable tips and tricks even if you're not pursuing a career in architecture photography. A good start is knowing what equipment you’ll need…
What’s in Your Camera Bag?
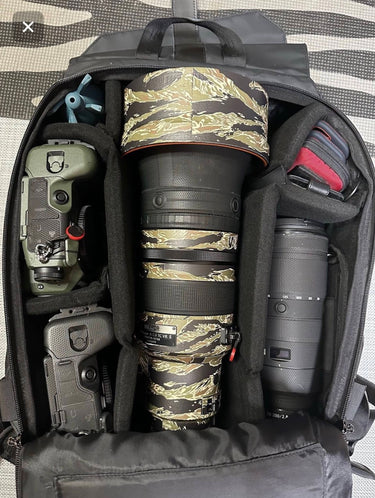
When it comes to architecture photography, there are a few types of architecture photography lenses and other equipment you’ll want for your shoot.
Bring your camera bag for easy access to these tools and to keep your equipment safe if the weather goes south. We recommend The Voyager camera backpack, as it’s spacious, well-made, and water-resistant.
Also, don't forget to bring a few microfiber cloths and other cleaning supplies. A little rain or dust might make for an interesting shot, but you don't want to abuse your lenses either!
Tilt-Shift Lens

A tilt-shift lens allows you to tilt the optics that will hit your image sensor. You can use this to capture huge, panoramic shots that miniaturize your subject. Forced perspective photography makes everything look amazing!
Not only will this give the architecture a special look and feel, but also allow you to see the building from a uniquely distant scope.
Wide Angle Lens

If you don't have a tilt-shift lens, don't worry! Wide angle lenses can also give your architecture photography a unique look.
A wide angle lens will distort your subject and give your shot an enhanced perspective. Essentially, anything closer to the camera will appear larger than what's far away, even if the two objects are the same size in reality.
This can help you exaggerate certain portions of the structure you're photographing.
Zoom Lens
You'll also want to pack a couple different zoom lenses.
This lens will allow you to re-frame your shot without the issue of moving the camera's position. This will allow you to find interesting angles and details in your subject.
9 Best Architecture Photography Techniques
Follow these tips to create the most interesting architectural photography shots you can take.
1. Find a Unique Angle

One of the best ways to capture the interesting geometric shapes of buildings is through clever angles.
Walk around your subject and try positioning your camera in different ways. Maybe you can line up your shot perpendicular with the vertical lines of the building, or create an optical illusion with your wide angle lens.
As the photographer, you'll always want to control the perspective by finding interesting angles.
2. Shoot Throughout the Day

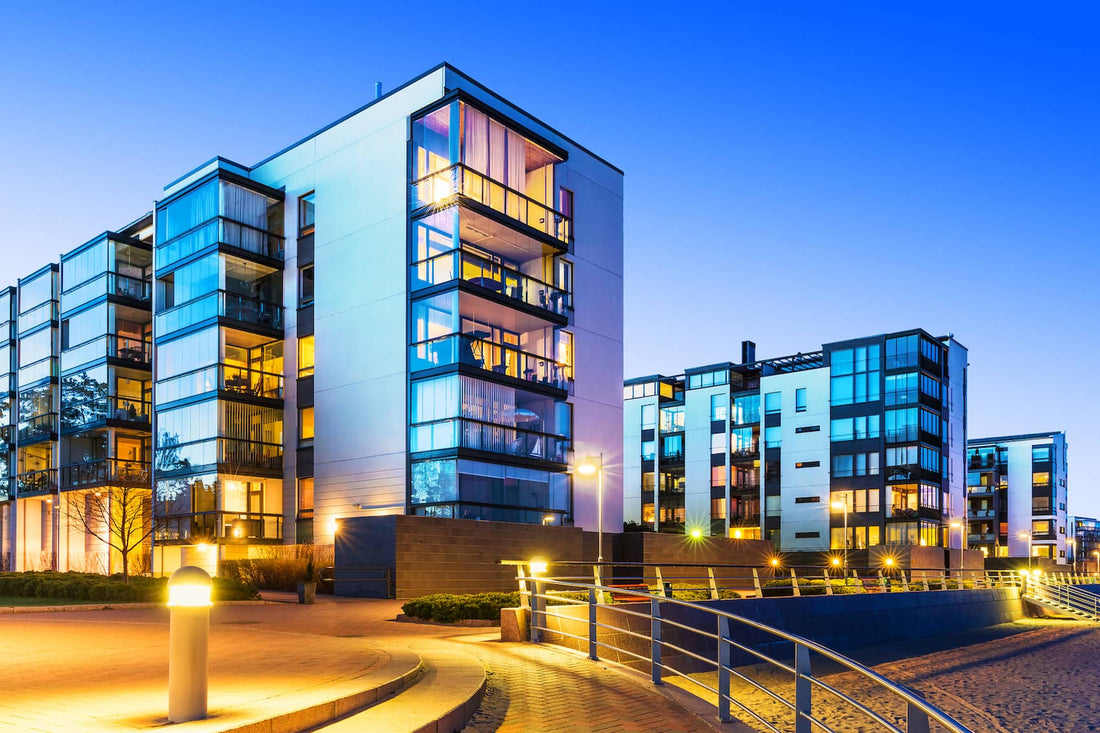
Different times of the day will provide you with unique and exciting lighting opportunities. Just think, what will this building look like during golden hour, or blue hour?
These different times of the day can completely change the way your subject looks. You might find that there’s more dynamic shadows, reflections or glowing effects during certain times.
Try shooting the same subject during different times of the day and see how it affects the mood and atmosphere of the photo.
3. Create Dynamic Shapes

Every city has distinctive buildings. They can have an eye-catching size, interesting shapes, and amazing history.
To capture their individuality, keep your eye out or curves and other dynamic shapes. Dynamic shapes will create a sense of movement and wonder in your architecture photography.
4. Include People
Standing in awe of its impressive nature might be one of the functions of architecture, but we can't forget the other either. After all, what are buildings for, if not to accommodate people.
People can add a lot of interest to your architecture photos. Whether they're interacting with your subject or simply showing the massive scale of it, don't be afraid to include them!
Try creating silhouettes or capturing motion blur. Doing so can help you make a statement in your architecture photography.
5. Use Negative Space

Creating negative space in your photograph can help you focus on your subject.
It will give your viewer something to lock onto, and then draws their eyes toward your subject. Negative space also makes for interesting composition, as the architecture will be the only major object in your shot.
6. Play with Lighting

One of the benefits of shooting outside is the availability of beautiful ambient light.
As you're looking for a good angle, pay attention to the light. You can use the light and shadows to your advantage to enhance your architecture photography.
And remember, if your lighting doesn't look quite right, play with your camera settings. Try adjusting your shutter speed or aperture, to ensure that your shot has the proper exposure.
7. Use the Weather

Don't be afraid of a rainy day! Weather can actually add a lot of interest to your shot!
Play around with your camera settings and make the day's weather work for you. Try using the Sunny 16 rule to get your aperture in order.
Also, make sure that you protect your equipment. As beautiful as a dusty or rainy shot might be, you don't want to abuse your camera or lenses. Always bring a good waterproof camera backpack and some microfiber lens cloths!
8. Incorporate Contrast

The sharp angles and lines on certain buildings can create amazing contrast.
Look for places where there are long, dramatic shadows on your building. These can create an amazing contrast effect, and highlight the grandeur of your subject.
You can also enhance the effect by shooting in black & white, which will further exaggerate the contrast.
9. Find Compelling Locations

No, a compelling location doesn't necessarily have to be the Eiffel Tower, or any other famous location. Not that there's anything wrong with famous architecture, but we all know everyone's seen them before.
Instead, look for any ordinary architecture that stands out from the crowd. Maybe you saw a building with a unique shape, color or height.
Take a walk around the city and look for anything you haven't seen before that catches your eye.
6 Common Architecture Photography Mistakes
Now that you know some important techniques, it's also good to watch out for common mistakes. After all, we're all human!
Here are the biggest mistakes beginner architectural photographers tend to make, and the best ways you can avoid them.
1. Don’t Make it too Busy
While it might be tempting to capture every element of a building's scenery, this can actually be a detriment to your photo.
Composition is important, and you should consider adding more negative space or only focusing on a few major details. This will make your subject shine!
2. Spray and Pray
We've all done it.
While it might be tempting to take a mass of photos with the hope of getting at least one good one, this isn't an ideal method. Remember, shooting effective architecture photography requires thought and consideration.
Only taking a few shots will force you to really pay attention to your shot's composition and lighting.
3. Out-of-Focus Shots
Camera shake and out-of-focus shots are a photographer's worst enemy.
To avoid this, try using a tripod or a zoom lens. Both of which will prevent instability and help you focus your shot!
4. Relying on HDR
While HDR can elevate your architecture photos, you don't want to fall into the trap of using it too heavily.
Instead, use HDR to make the real colors and details in your photography pop, and avoid drowning them out. Find the balance between realism and color quality!
5. Lack of Lighting Interest
Strong contrast and lighting effects can add a lot of interest to architecture. With that in mind, avoid shots that have little to no unique lighting.
6. Too minimal
It’s our natural instinct to capture architecture with extremely clean lines and go for ‘minimalism’, however, this could also make it a bit stale. Aim to capture details in the architecture to tell more interesting stories in your photographs.
How Much to Charge for Architectural Photography
So you want to pursue a career in architecture photography?
While it's certainly a viable career, what you decide to charge can depend on a lot of factors. Location, experience, clientele, these all play a role in pricing.
Here are a few things to keep in mind…
Your Skills
In general, the more skilled you are, the more you'll be able to charge.
While the skill of one photographer isn't always easy to compare to another, you should be able to gauge your own experience.
Analyze your architecture photography and see how it measures up against some of your favorite sample photos. Better yet, do more specific research into what similar photographers charge.
If you find that your skills are wanting, keep practicing the techniques provided to you. You'll get there!
Your Location
Though big cities like Los Angeles, Miami or New York City will provide you with tons of subject material, they're also extremely competitive.
On the bright side, skilled architecture photographers in these cities can get away with charging a whole lot more for their services.
Your Client
Different clients can have different benefits and downsides.
For instance, a publisher might not be willing to pay as much as an advertising firm, but will get your work seen.
When in doubt, do research on your client so you can get an idea of what they usually pay. Consider all the potential positives and negatives that come with working for certain clients.
Your Subject
As mentioned, architecture photography covers a wide range of subjects. Of course, what you choose to shoot will have an impact on how much you decide to charge.
Again, research is key. Look into what other photographers charge for similar work. Look into clients too, as for example, corporate and residential projects are known to have high photography budgets.
The Bottom Line
Unfortunately, there's no definitive answer on what you should charge for your photography.
However, the average architecture photographer makes just over $50,000, or between $200-$400 per photo shoot. Keep in mind that these numbers are a national average, and can vary wildly when comparing locations.
Always do your research first, and don't sell yourself short!
Upgrade your Camera Backpack
So, whether dreams of going professional or not, architecture photography requires passion, patience, and skill. Improving just takes the right mix of time, technique and having the right equipment.
You've got the techniques now, so why not try upgrading your camera bag too? Being able to hold all your lenses and other equipment can be a true lifesaver when you're out in the field.
Luckily, The Voyager is equipped to handle your photography needs. It's lightweight, spacious, and even water-resistant. You'll always be able to pull up to your photoshoot knowing your gear is safe and organized.
After all, if you have the equipment and the technique down, you'll save yourself a whole lot of time too!
Up Next: Rule of Thirds in Photography
Now that you understand architecture photography, you can get out there and take some spectacular architecture images. What are you waiting for? Let us know in the comments what architecture you plan on capturing next!
And, if you’re interested in creating even more impressive architecture pictures, check out our article on the Rule of Thirds!


